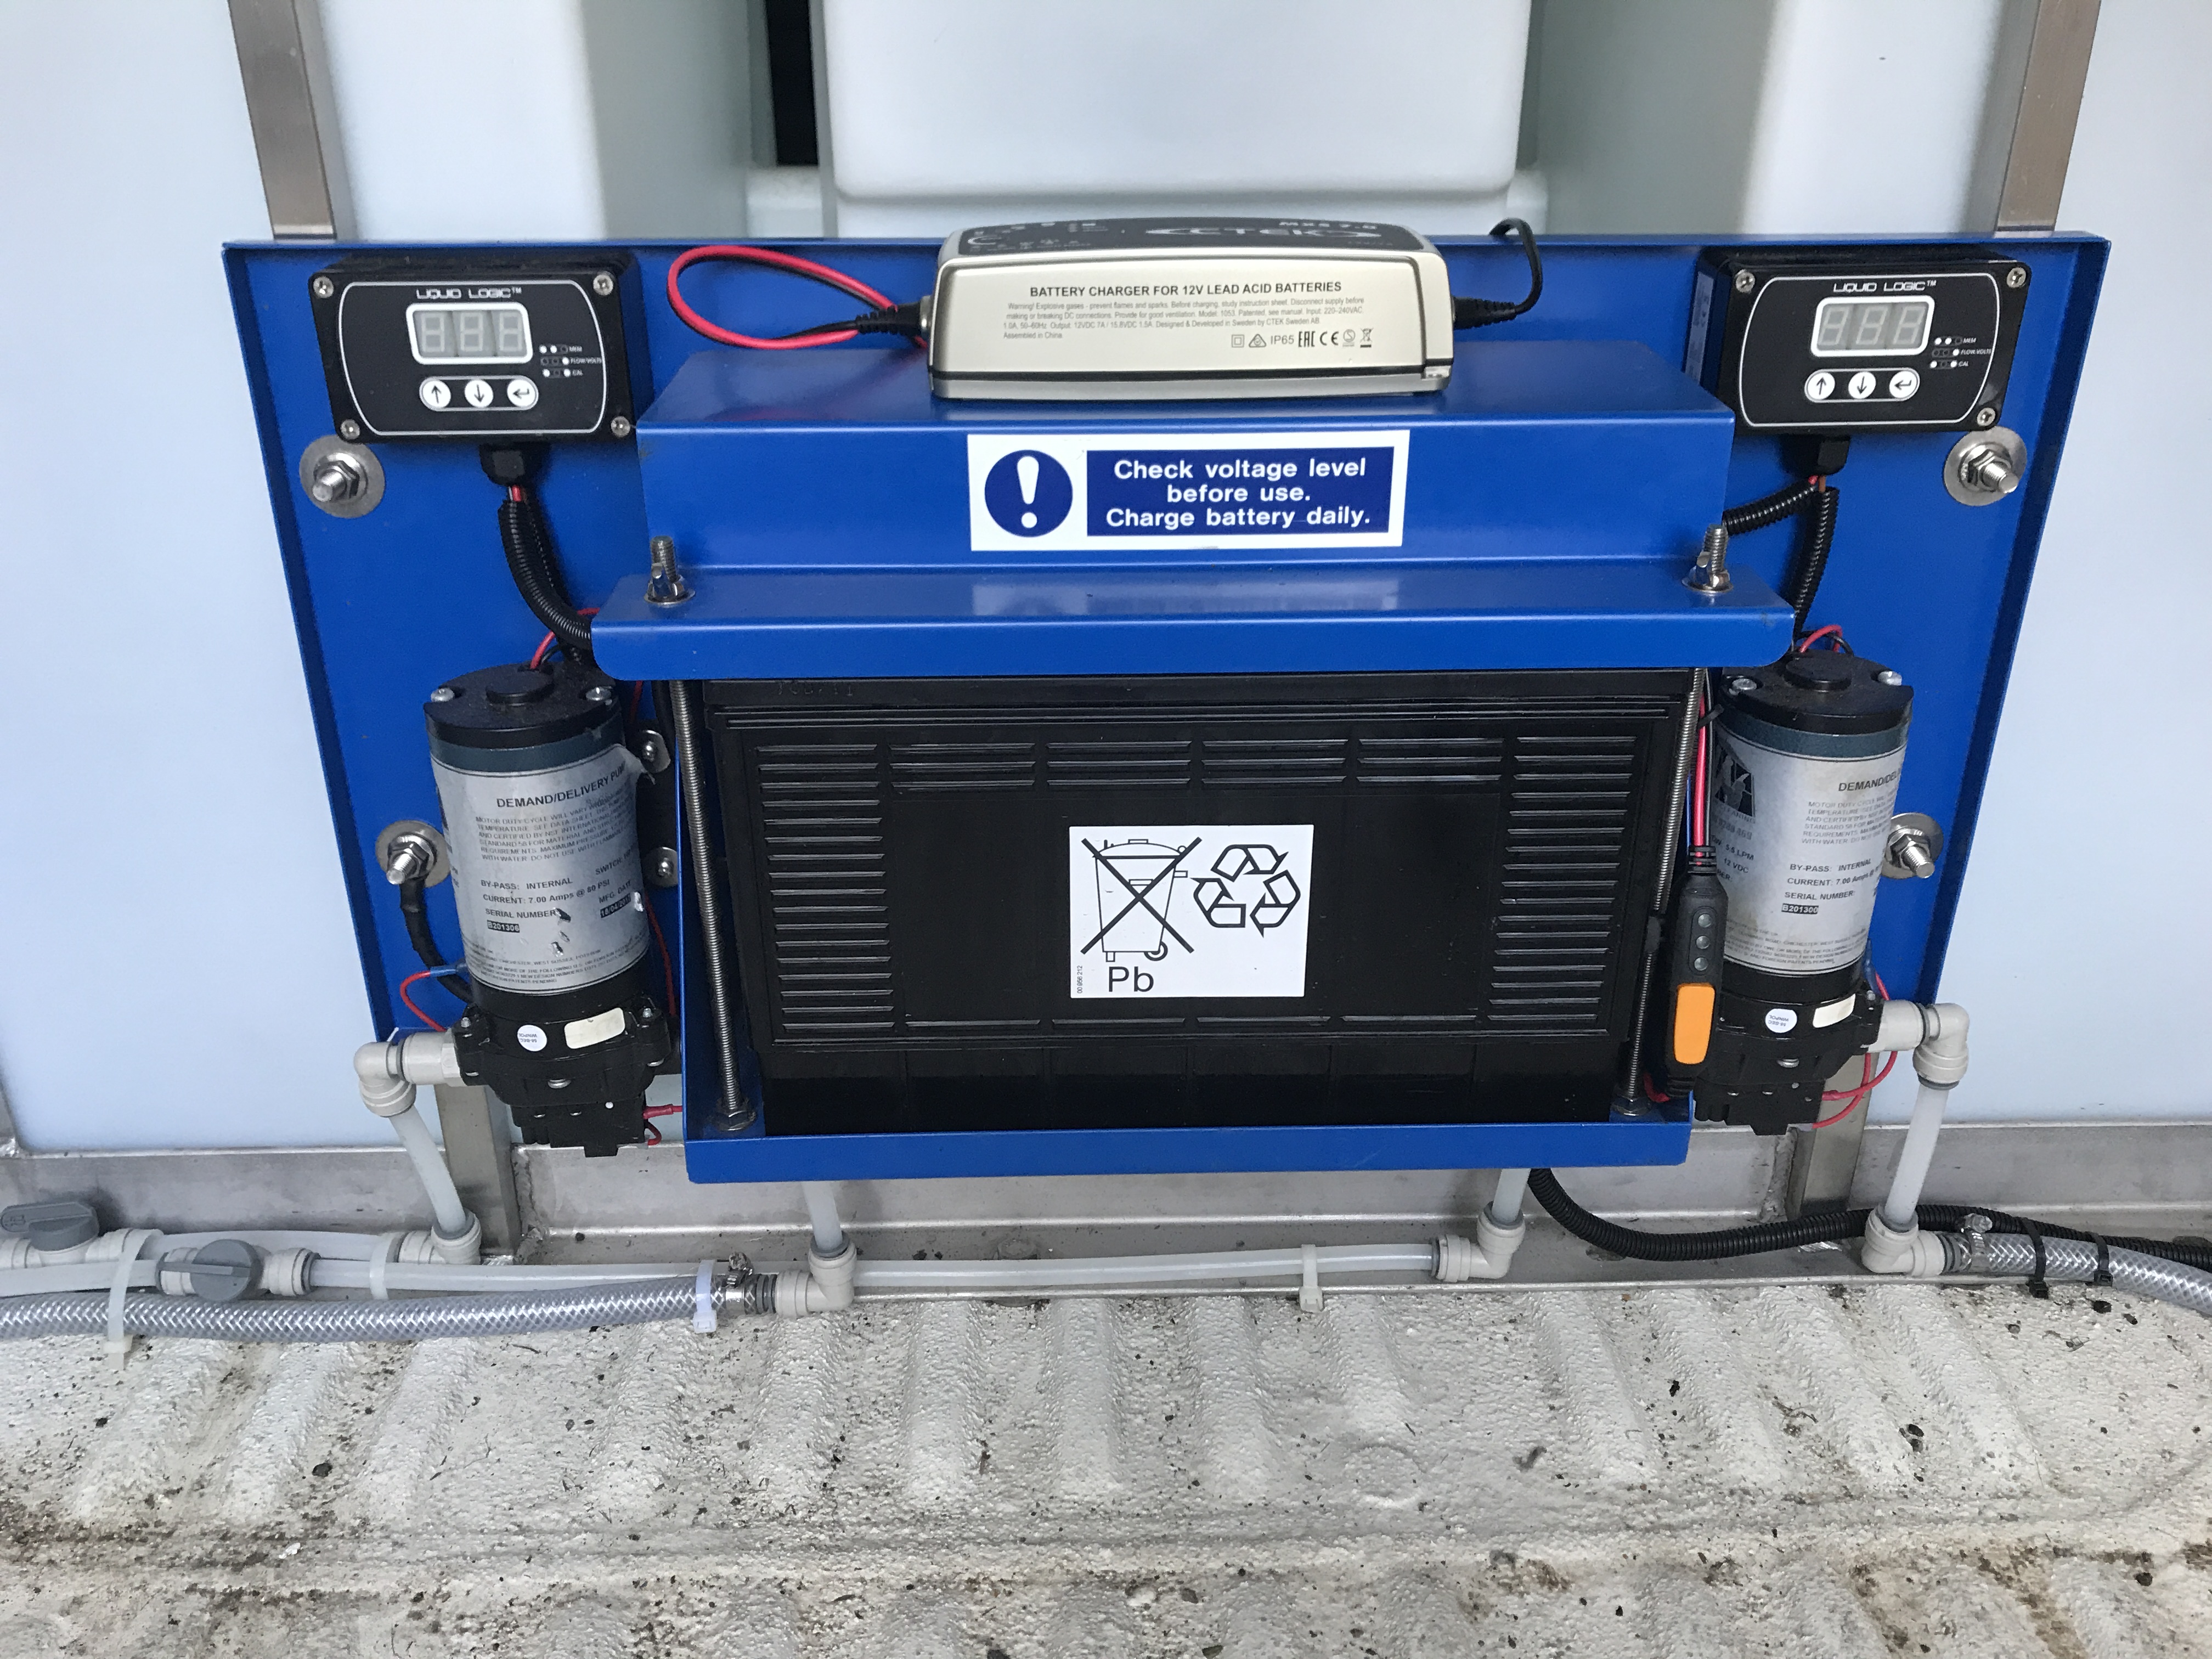
Just thought I'd update and resurrect this thread for anyone interested, mainly Spruce I'm guessing. I replaced the anderson connectors & battery charger just for neatness & compactness. I had started leaving a ctek mxs 5.0 charger velcroed in each vehicle with the ctek ring eyelets. Then I discovered the led eyelets from ctek that give you a very quick indication of the charge state of the battery. All I had to do was run a home made extension to each van through the back van doors to my outside socket. Nice & simple. These are the led eyelets: https://www.amazon.co.uk/gp/product/B002MT8S7E/ref=ppx_yo_dt_b_asin_title_o02_s00?ie=UTF8&psc=1
My battery has not been lasting as long lately so not holding charge. I've bought this battery now: https://www.alpha-batteries.co.uk/12v-130ah-leoch-adventurer-agm-leisure-battery-lagm130/ but upgraded the charger to a ctek mxs 7.0 for the bigger battery. I'm also limited by the physical dimensions of the battery so it will fit in the Pure Freedom battery tray.
I take back what I've said in other threads as although I've got the Sterling battery to battery charger I think I still need to bench charge more regularly as Spruce & others have frequently said because of my lack of mileage. You're right, I wasn't putting enough back into the battery. I'm gonna try look after this one better by bench charging in situ much more often. Almost every night in fact. I'm also hoping the bigger ampage (130 now compared to 110 before) will allow me to use up less of it's deep cycles by not running it down too low. Hopefully I'll stay more around the 80% mark. It's very rare we're both working out of one van so usually just using the one pump. I also found this page useful: https://deepcyclebatterystore.com/how-to-maintain-batteries/ (not trying to tell you how to suck eggs Spruce & others) It just seemed to explain it to me very well.

I think that the link you included has some very good info for us all. Thank you for linking it. I will take a copy of it for future reference.
There will be a lot of info that is probably not applicable to us as window cleaners. For example, most of our leisure battery are 'sealed' maintenance free so the section on using a battery hydrometer wouldn't apply to most of us. Even in the motor industry where flooded starter batteries are still used, most younger motor mechanics won't even know what a hydrometer is, let alone how to use one. In our day and age if a battery isn't working but is receiving the right voltage and amperage charge then the battery needs replacing. It's become classed as a throw away item like most other manufactured product is.
It also does amaze me is how battery experts sometimes just don't agree on the basics:
For example here is a quote from the article.
When checking the batteries, (at rest) use these ďVoltage LandmarksĒ.
12.6 volts = 100%
12.5 volts = 70%
12.3 volts = 50%
11.4 volts = 20%
A set of leisure battery maintenance articles targeted toward the local leisure market uses these figures.
12.7V or over = 100%
12.5V = 75%
12.4V = 50%
12.2V = 25%
12V or under = Discharged
My experience has shown that my leisure battery reads between 12.8 and 12.9v when fully charged and rested over night.
The remainder of the charge level voltages on the local guide fit with more than the guide in this Canadian article. I have a Victron battery monitor that shows voltage along with state of charge as a percentage.
Do they use different battery technology over there to account for the colder winter temperatures?
Many equipment suppliers do use the 10.5v cut off point with a battery under load. This is a feature of Spring controllers (that can be over-ridden) and Webasto diesel water and air heaters. A battery that's voltage drops to 10.5v under load is flat.
Thanks again for the link.